This article explains how to use the ScreenBeam installed in every classroom to wirelessly cast your laptop or other device to your TV.
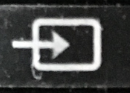
Important Note: Please make sure you do not use the ScreenBeam and dock cable at the same time, the ScreenBeam is exclusively for wireless casting to the TV.- Please first ensure that the TV is on the correct HDMI input, the button on the TV remote will look similar to the examples below:
 To confirm whether or not you are on the correct input, please look for this screen which is the ScreenBeam homepage - if you see this it means you are ready to continue to Step 2:
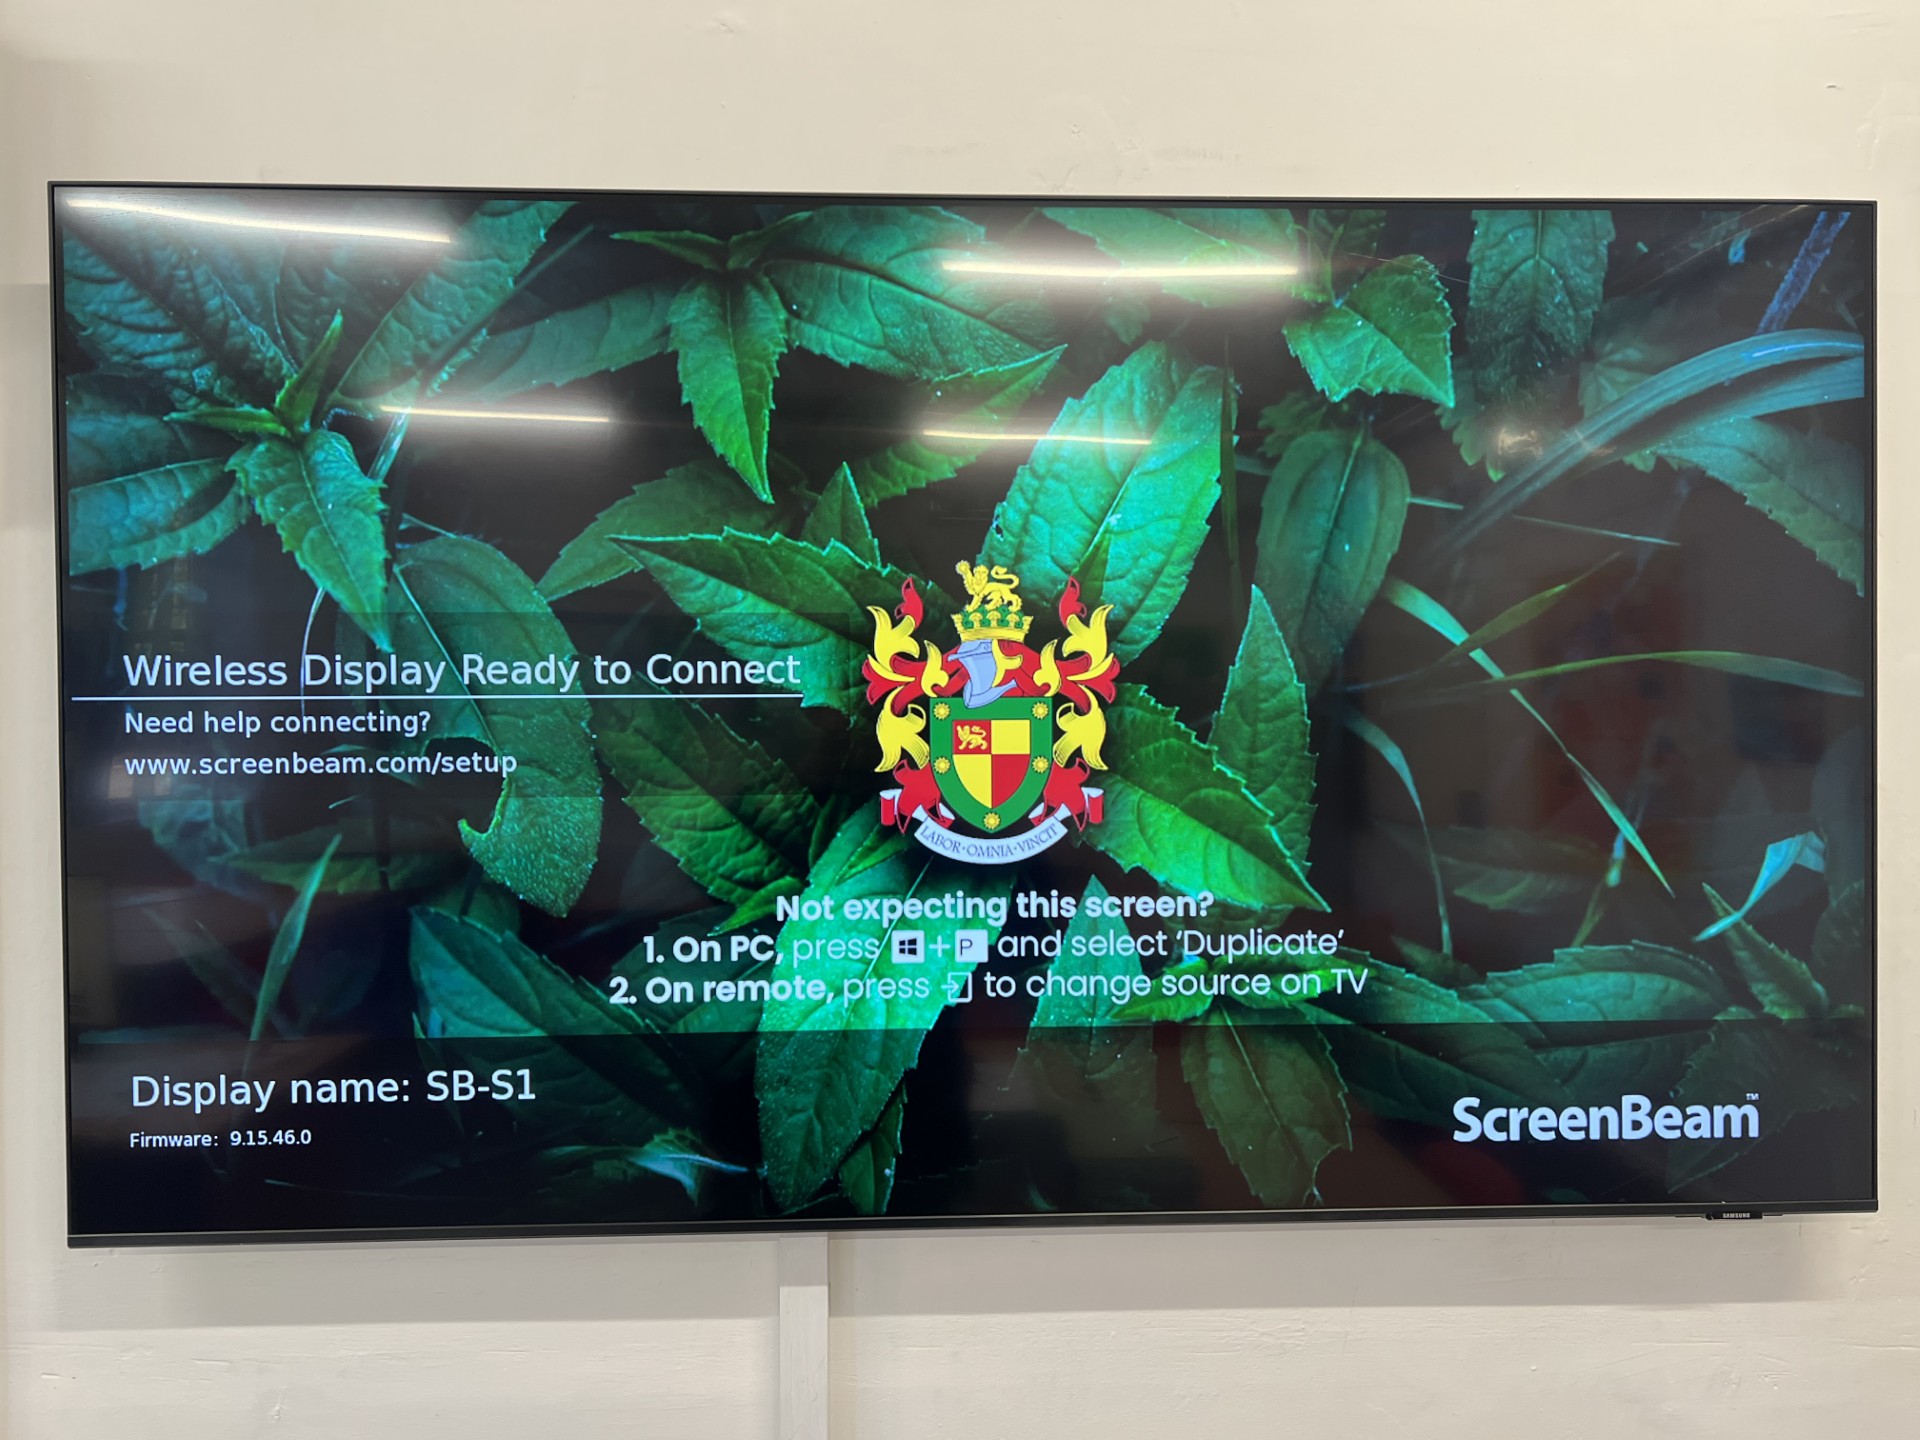
- Please note the Display name of the ScreenBeam in your classroom which should be in the format SB-(room name).
- Press Windows Key + K on your keyboard and locate the correct ScreenBeam in the list that appears. Click that device, and if you have not previously connected to that ScreenBeam wait for the PIN input box to show up.
- Please input the PIN - this PIN is the same in each classroom and has been emailed to you previously (search for an email from Ben Moss with the subject heading 'Screenbeams'.
- Your laptop should now connect to the ScreenBeam after a few seconds and your laptop display should be mirrored on the TV.
- To change display settings between Extend and Duplicate press Windows Key + P and select between the options.
- To disconnect once finished, press Windows Key + K again and click 'Disconnect' at the bottom of the popup.
Was this article helpful?
That’s Great!
Thank you for your feedback
Sorry! We couldn't be helpful
Thank you for your feedback
Feedback sent
We appreciate your effort and will try to fix the article